Blog

Creamy Tomato Soup Recipe

Creamy Tomato Soup

This delicious Creamy Tomato Soup is a comforting classic that can easily be made at home. With its smooth and creamy texture, this tomato soup is great to serve on its own or as a starter to a meal.

Gather all Ingredients

To get started, you’ll need the following ingredients:

  • Tomatoes: studies suggest that they may ease inflammation, boost your immune system, lower your cholesterol levels, and keep your blood from clotting. Health Benefits of Tomatoes.
  • Yellow onion nutrition health benefits include providing antioxidants that fight inflammation, cancer protection, and improved heart health. Onions: Health Benefits and Nutrition.
  • Butter, garlic, chicken stock, fresh basil, sugar, black pepper, salt, and heavy whipping cream.
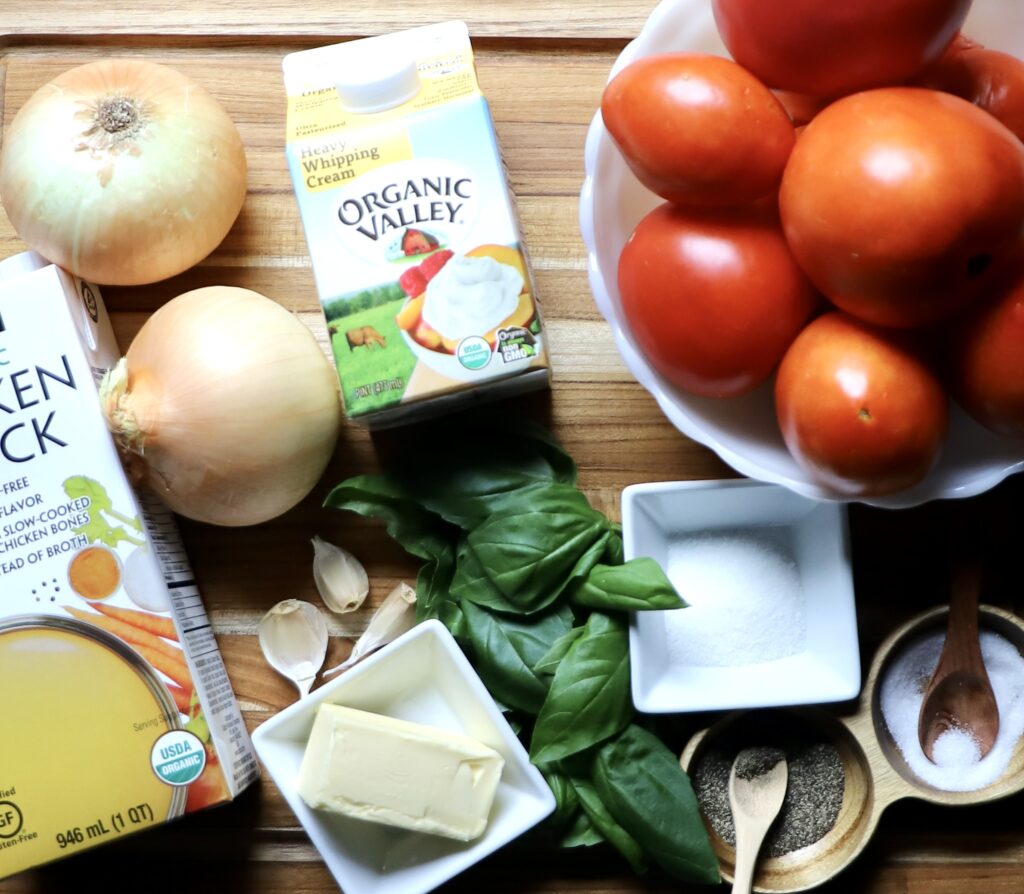
Creamy Tomato Soup Ingredients

How to make this Recipe:

  1. Sauté onions

    Heat a nonreactive pot over medium heat. Add butter then add chopped onions. Sauté 10-12 minutes, stirring occasionally, until softened and golden. Add minced garlic and sauté 1 more minute.
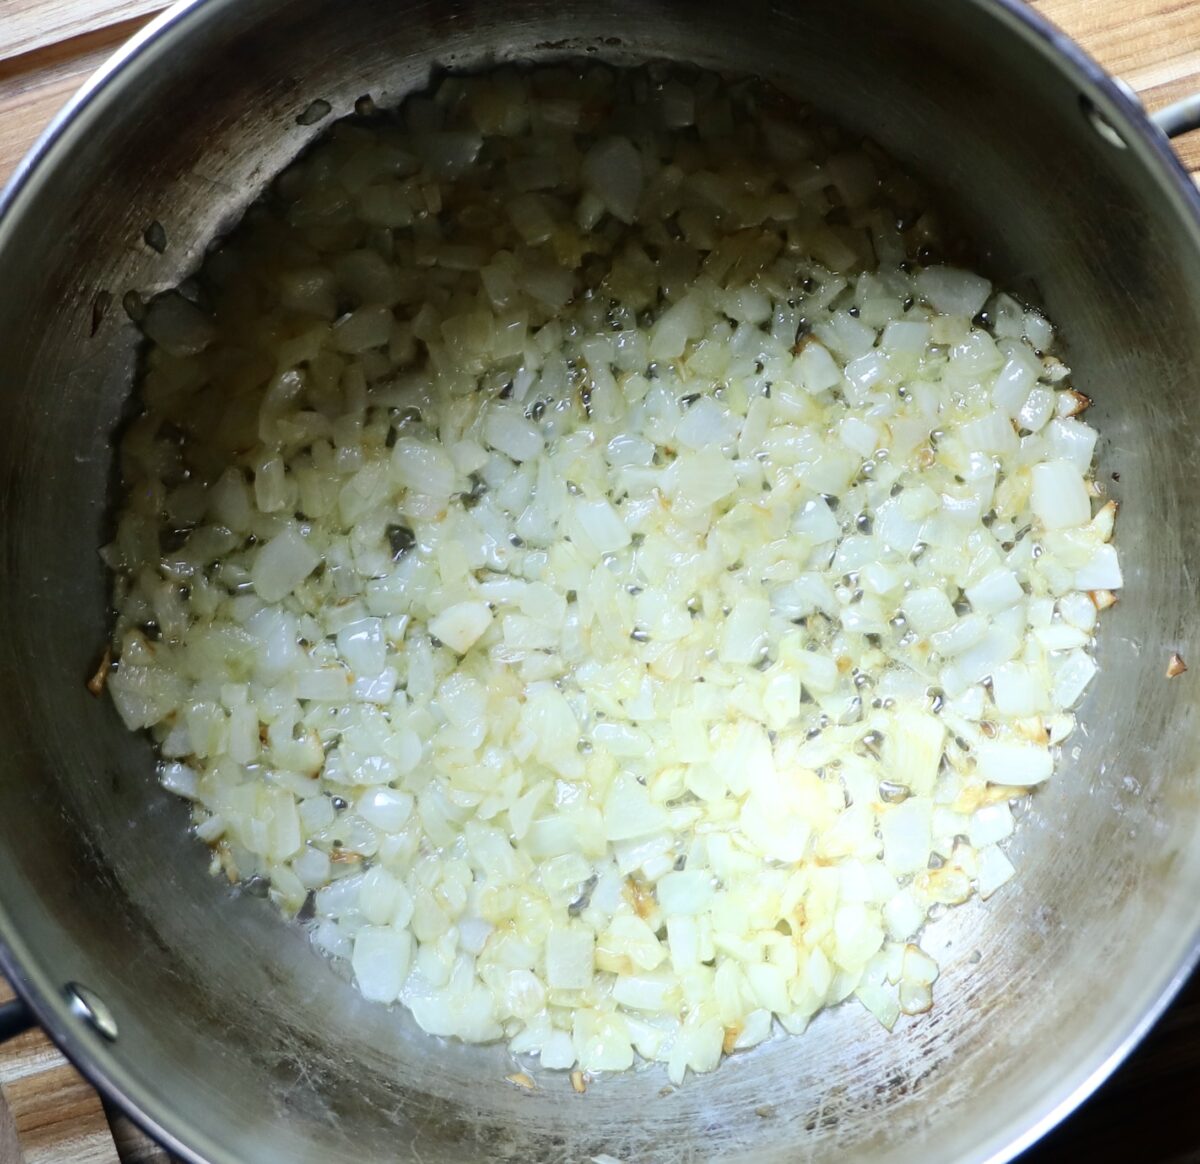
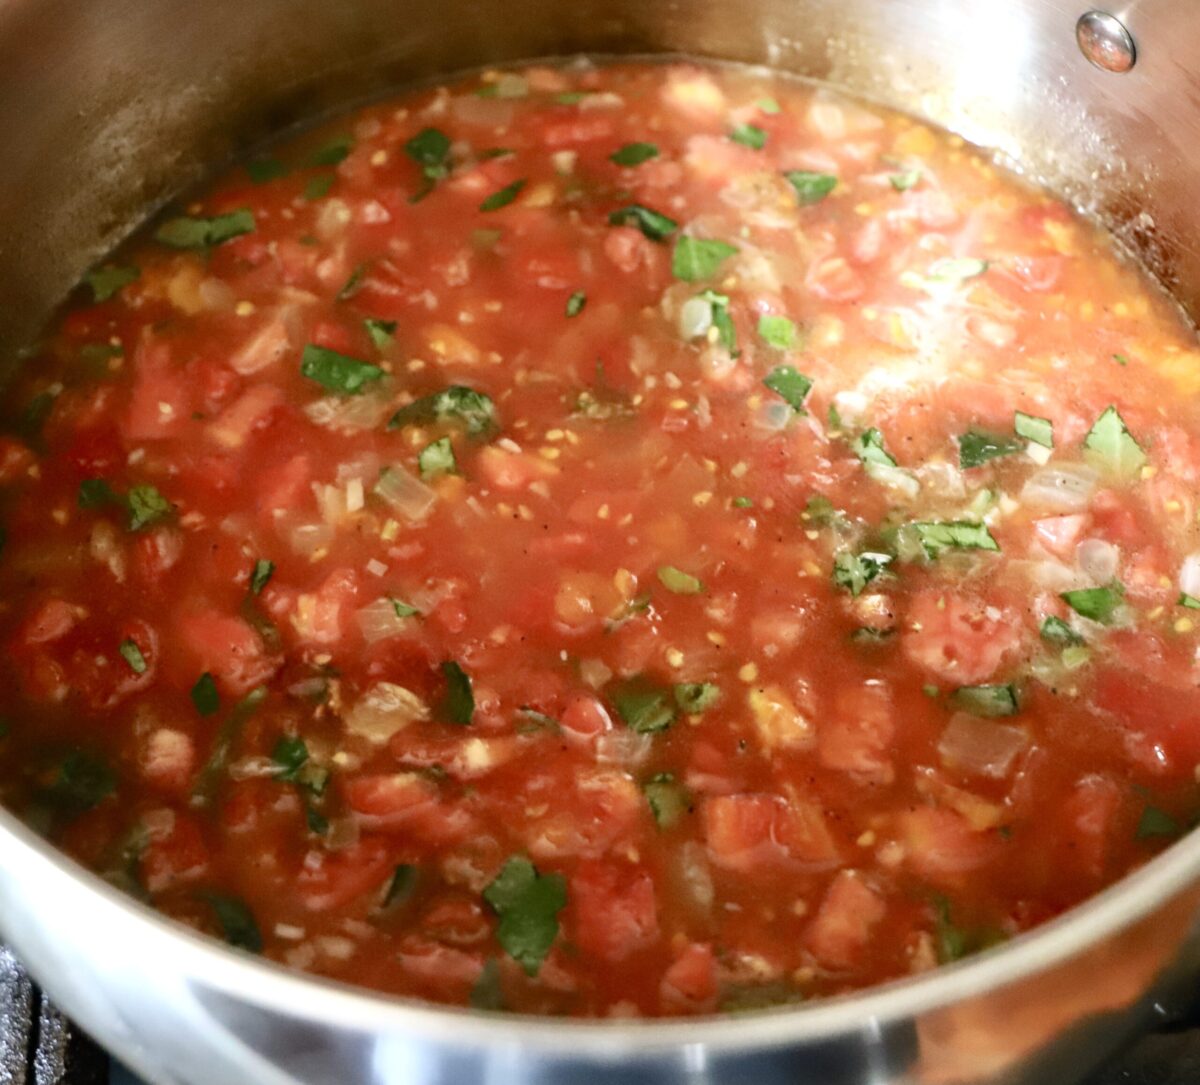
  2. Add tomatoes, chicken stock, chopped basil, sugar, black pepper, and cook

    Add tomatoes with their juice, chicken stock, chopped basil, sugar, and black pepper. Stir together and bring to a boil then reduce heat, partially cover with lid, and simmer for about 10 minutes.
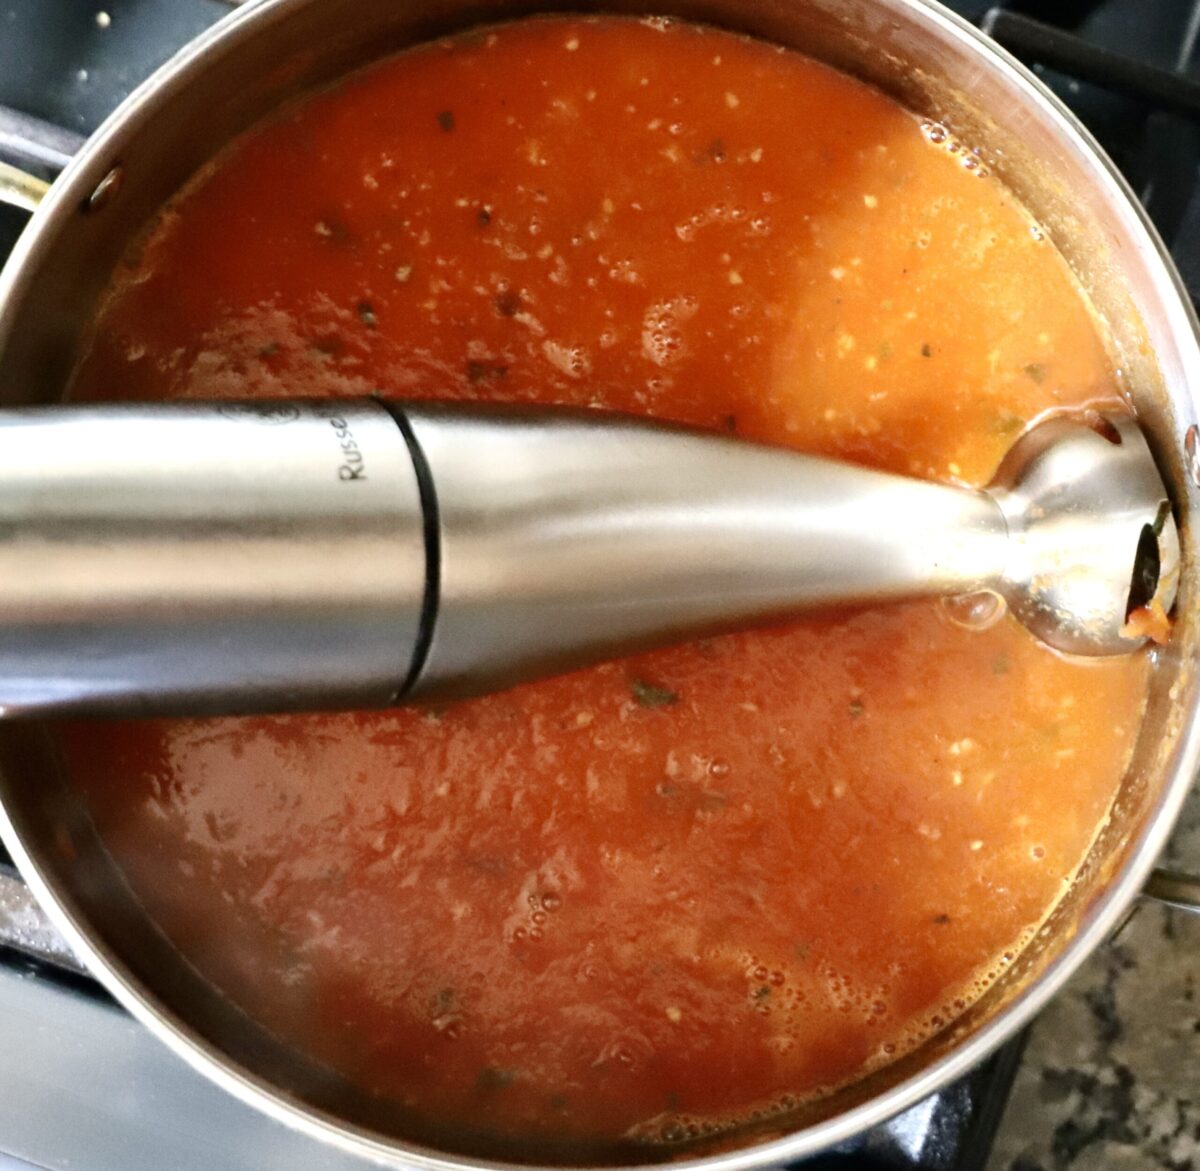
  3. Blend

    Use an immersion blender to blend the soup in the pot to desired consistency or transfer to a blender in batches and blend until smooth, then return blended soup to the pot over medium heat.
  4. Add cream and enjoy

    Add heavy cream and return to a simmer. Taste and add salt, sugar, and/or black pepper, if needed. Serve and enjoy.

Common Questions

Can I make creamy tomato soup without cream?

Yes, you can use alternatives like coconut milk, cashew cream, or a dairy-free cream substitute. Greek yogurt or milk can also be used for a lighter version.

Can I add other vegetables to the soup?

Yes, you can add vegetables like carrots, celery, bell peppers, or even roasted red peppers to enhance the flavor and nutritional content of the soup. Just sauté them with the onions and garlic before adding the tomatoes.

What can I serve with creamy tomato soup?

Creamy tomato soup pairs well with a grilled cheese sandwich, crusty bread, croutons, or a fresh green salad. You can also serve it with a side of garlic bread or avocado toast.

Can I freeze creamy tomato soup?

Yes, creamy tomato soup freezes well. Allow it to cool completely before transferring it to an airtight container. Freeze for up to 3 months. When reheating, thaw in the refrigerator overnight and warm on the stovetop, stirring occasionally.

Creamy Tomato Soup

More Soup Recipes you will Enjoy!

If you try this recipe and like it, please leave your feedback in the comment section below, and don’t forget to rate it! Please also share it with your friends and family.

Finally, please FOLLOW “She Wants To Be Good” on FACEBOOK and INSTAGRAM for all of my latest blog posts and recipes.

Creamy Tomato Soup Recipe

This Creamy Tomato Soup is easy to make from scratch with fresh tomatoes, basil, onion, broth, and heavy cream for a comforting homemade soup.
Prep Time 10 minutes
Cook Time 25 minutes
Total Time 35 minutes
Course Soup
Cuisine American
Servings 6

Ingredients
  

  • 3 tablespoons unsalted butter
  • 1 ½ cups yellow onions (finely chopped)
  • 3 garlic cloves (minced)
  • 6 cups fresh tomatoes (peeled and diced) (or crushed tomatoes from cans with their juice)
  • 1 ½ cups chicken stock
  • ¼ cup chopped fresh basil (plus more to serve)
  • 1 tablespoon sugar (or to taste)
  • ½ teaspoon salt (or to taste)
  • ¼ teaspoon black pepper (or to taste)
  • ½ cup heavy whipping cream (or to taste)

Instructions
 

  • Heat a nonreactive pot over medium heat. Add butter then add chopped onions. Sauté 10-12 minutes, stirring occasionally, until softened and golden. Add minced garlic and sauté 1 more minute.
  • Add tomatoes with their juice, chicken stock, chopped basil, sugar, and black pepper. Stir together and bring to a boil then reduce heat, partially cover with lid, and simmer for about 10 minutes.
  • Use an immersion blender to blend the soup in the pot to desired consistency or transfer to a blender in batches and blend until smooth, then return blended soup to the pot over medium heat.
  • Add heavy cream and return to a simmer.
  • Taste and add salt, sugar, and/or black pepper, if needed. Serve and enjoy.
Keyword Creamy Tomato Soup, easy tomato soup, easy tomato soup recipe, Tomato Soup, tomato soup recipe

Hi! I’m Irina. Here you’ll find healthy and healthy-ish recipes.

Applesauce Overnight Oats

Applesauce Overnight Oats

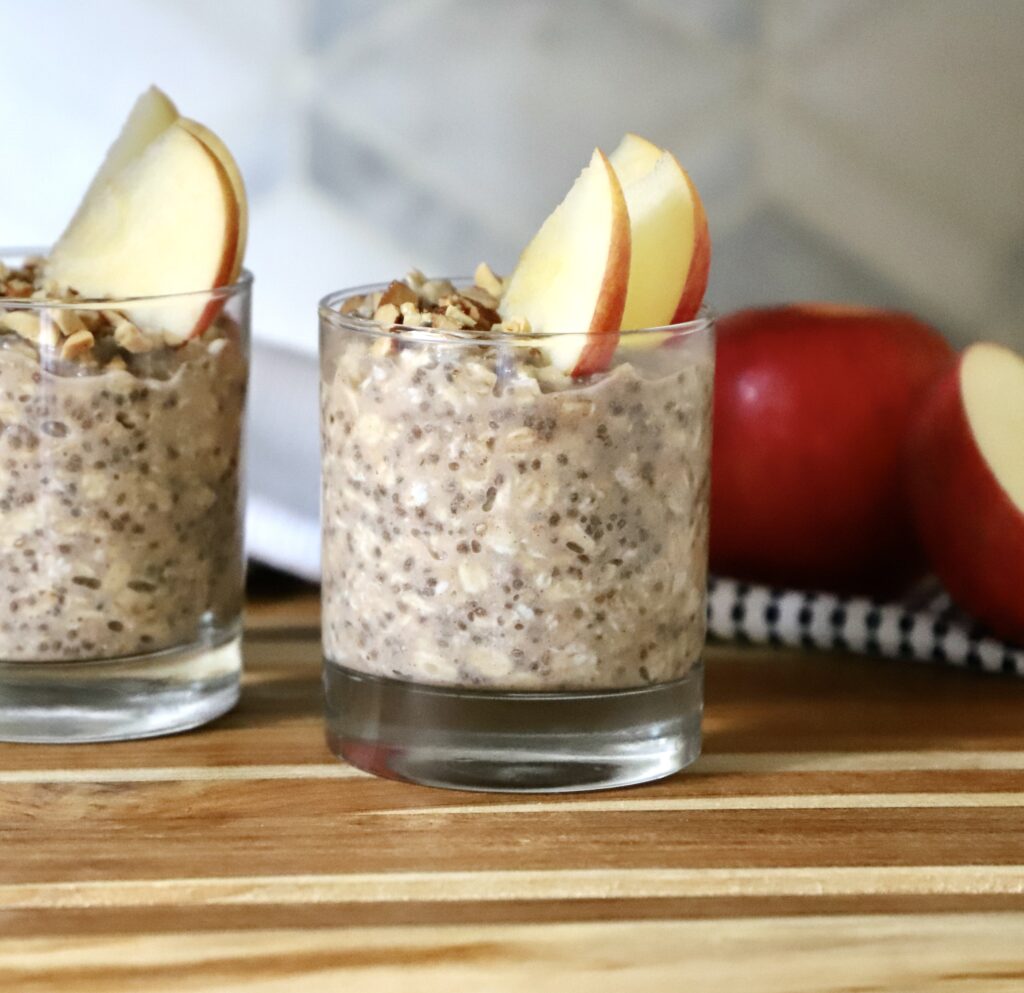
These Applesauce Overnight Oats are perfect for meal prep and easy to put together. They are spiced with cinnamon and are made up of minimal ingredients.

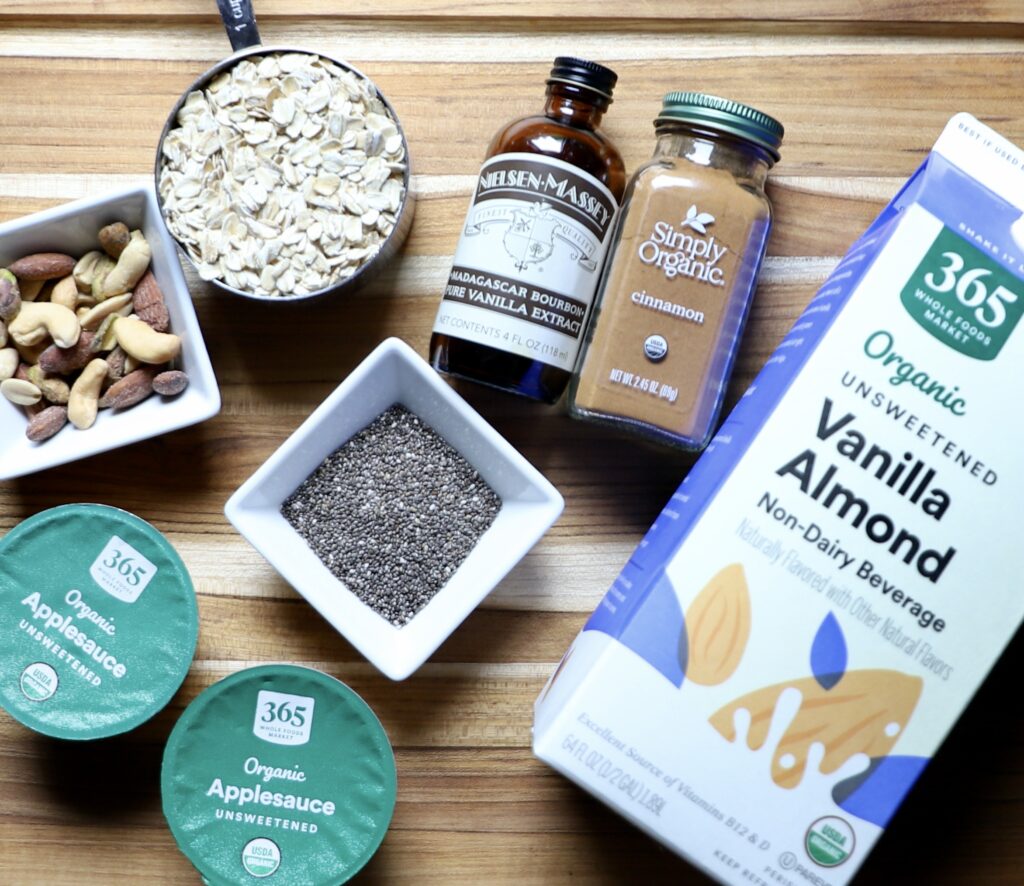
Gather all Ingredients

To get started, you’ll need the following ingredients:

Applesauce Overnight Oats Ingredients

How to make this Recipe:

  1. Mix

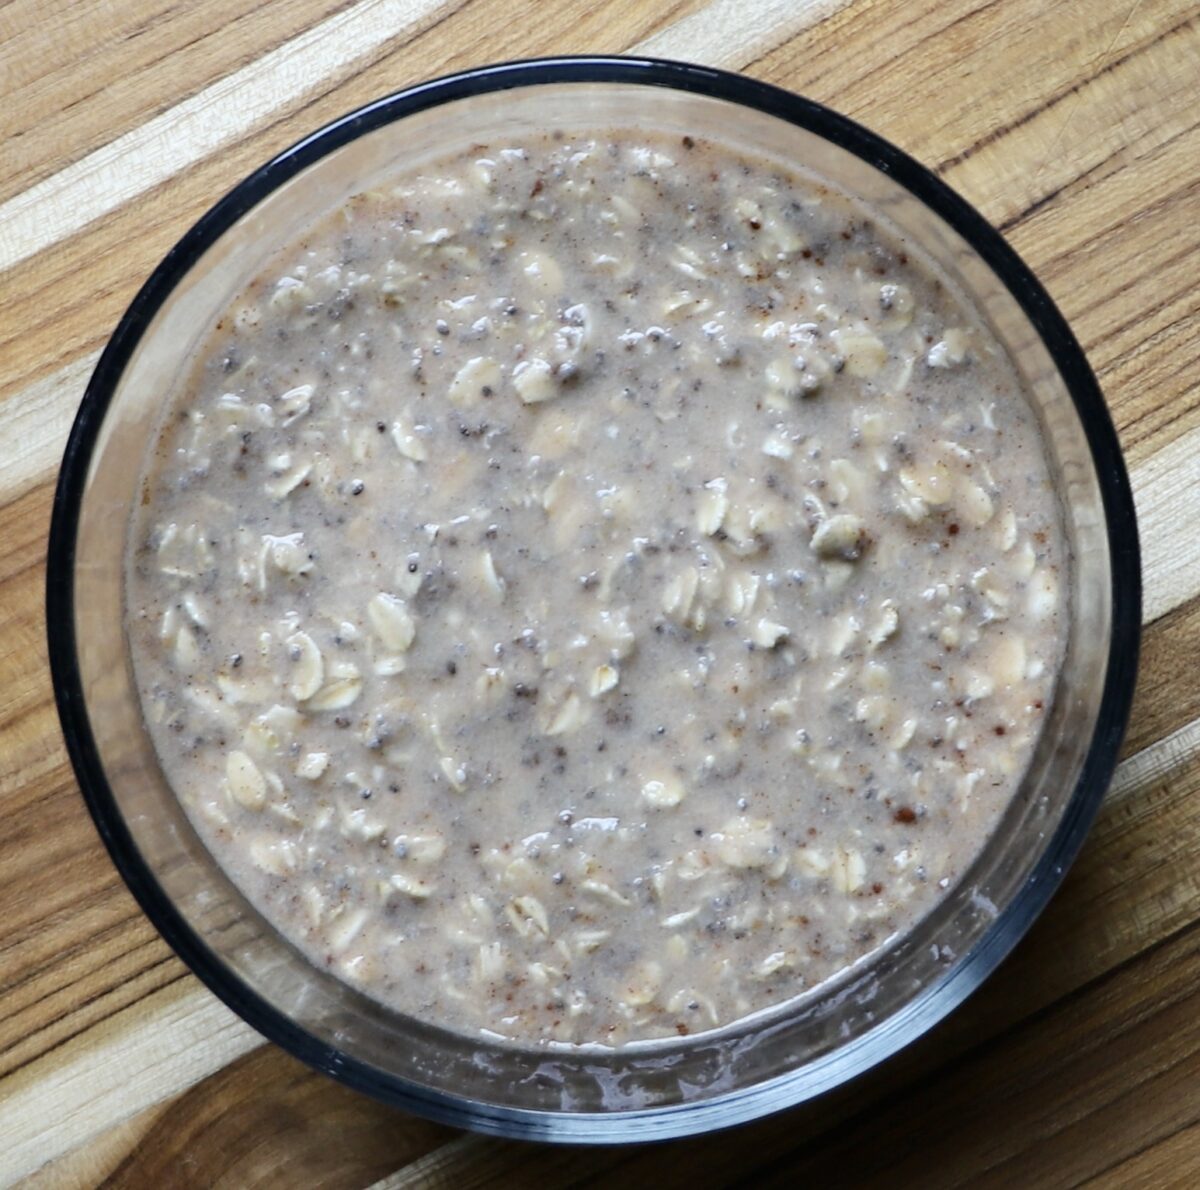
    Mix dry ingredients (oats, chia seeds, and cinnamon) together. Then, add applesauce, vanilla, and milk to the dry ingredients. Stir everything together until well combined.

  2. Refrigerate

    Cover the oats and refrigerate for a minimum of 3 hours or overnight.

  3. Enjoy

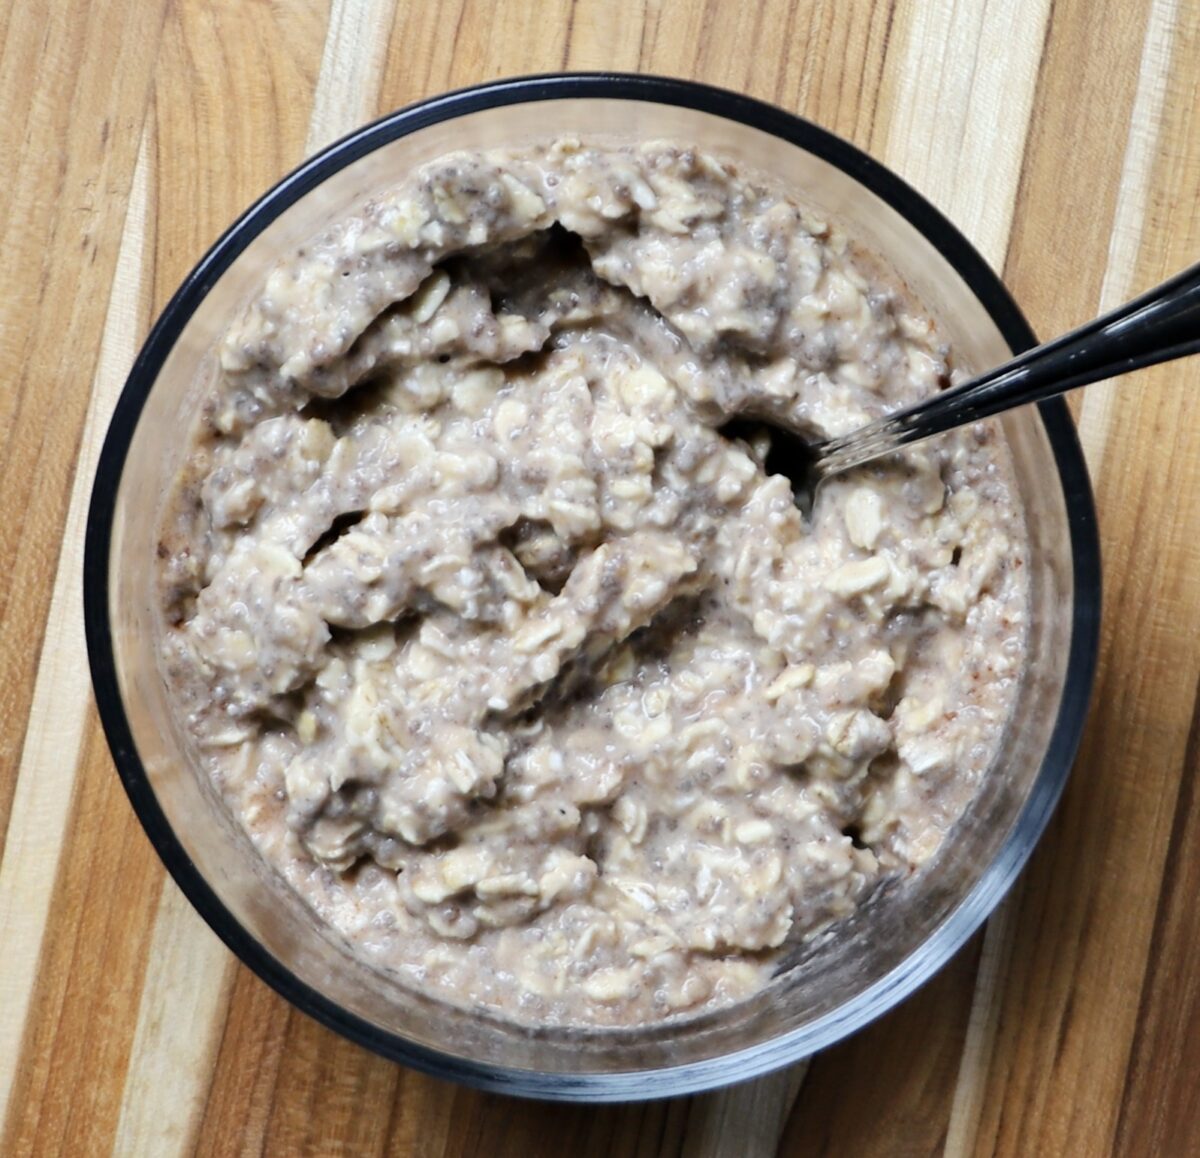
    Remove oats from the fridge. Stir everything together, divide, add toppings, and enjoy cold!

Applesauce Overnight Oats: Frequently Asked Questions

Can I use flavored applesauce in my overnight oats?

Yes, flavored applesauce can add a different taste to your oats. Just be mindful of added sugars in flavored varieties if you’re watching your sugar intake.

Can I eat applesauce overnight oats warm?

Yes! If you prefer warm oats, you can microwave the overnight oats for about 1-2 minutes before eating.

Can I add other fruits to overnight oats?

Absolutely! You can add fresh or dried fruits like sliced bananas, berries, raisins, or chopped nuts to enhance flavor and texture.

How long do overnight oats last in the fridge?

Applesauce overnight oats can be stored in the refrigerator for up to 3-5 days. Just make sure to keep them in an airtight container.

Applesauce Overnight Oats

More Breakfast Recipes you will Enjoy!

If you try this recipe and like it, please leave your feedback in the comment section below, and don’t forget to rate it! Please also share it with your friends and family.

Finally, please FOLLOW “She Wants To Be Good” on FACEBOOK and INSTAGRAM for all of my latest blog posts and recipes.

Applesauce Overnight Oats

These Applesauce Overnight Oats are an easy and healthy make-ahead breakfast. It is full of apple and cinnamon flavor.
Prep Time 3 hours 10 minutes
Total Time 3 hours 10 minutes
Course Breakfast, Dessert
Cuisine American
Servings 2

Ingredients
  

  • 1 cup rolled oats
  • 2 tablespoons chia seeds
  • 1 cup unsweetened applesauce
  • 1 teaspoon cinnamon
  • 1 teaspoon vanilla extract
  • 1 cup non-dairy milk
  • For topping: 1-2 tablespoons chopped nuts and/or apple slices

Instructions
 

  • Mix dry ingredients (oats, chia seeds, and cinnamon) together.
  • Then, add applesauce, vanilla, and milk to the dry ingredients. Stir everything together until well combined.
  • Cover the oats and refrigerate for a minimum of 3 hours or overnight.
  • Remove oats from the fridge. Stir everything together, divide, add toppings, and enjoy cold!
Keyword applesauce overnight oats, overnight applesauce oats, overnight oats with apples, overnight oats with applesauce

Hi! I’m Irina. Here you’ll find healthy and healthy-ish recipes.

Air Fryer Tortilla Garlic Bread

Air Fryer Tortilla Garlic Bread

This Tortilla Garlic Bread recipe makes a fast, cheesy, tasty garlic bread with just a few pantry ingredients.

Why Choose Air Fryer Tortilla Garlic Bread?
Quick and Easy Preparation:
This recipe is so simple. Gather a few basic ingredients – tortillas, garlic, olive oil, and your favorite herbs – and you’re ready to go.

Healthy Twist:
Unlike traditional garlic bread, this air-fried version cuts back on the excess fat. By using an air fryer, you achieve that satisfying crunch and it’s a healthier alternative that doesn’t compromise on taste.

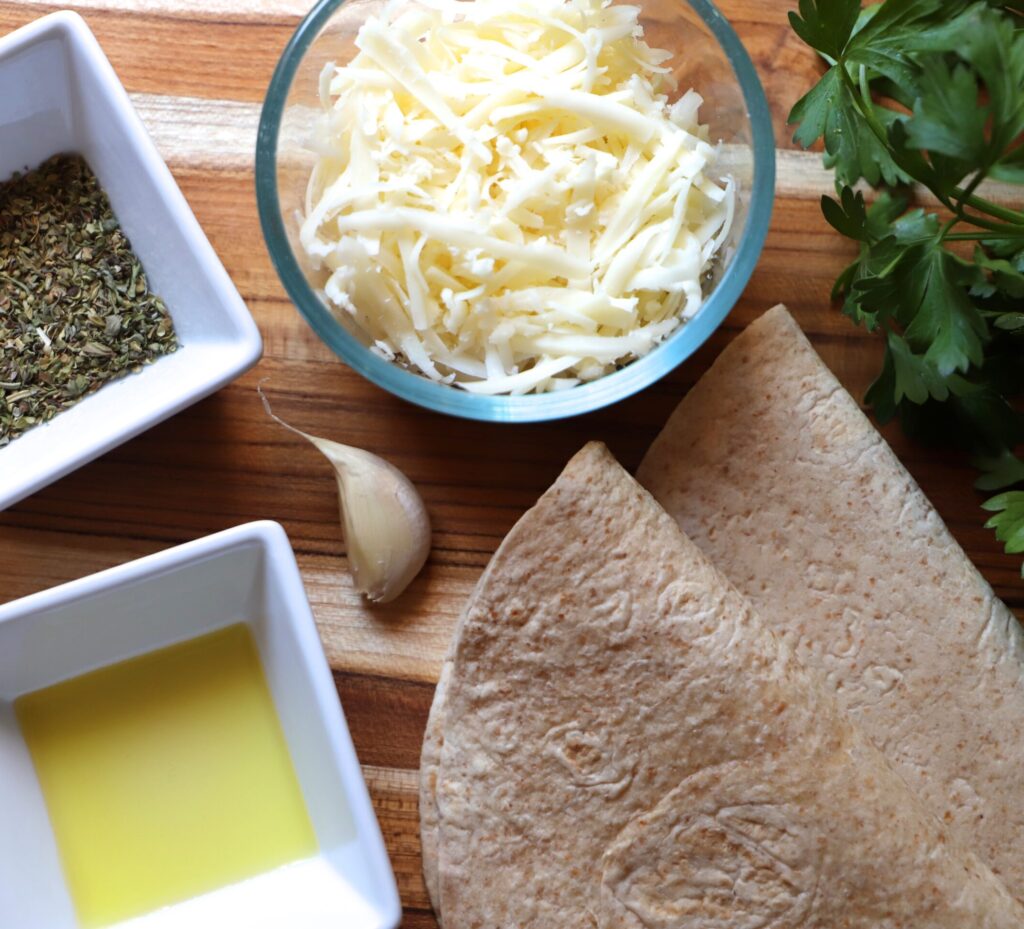
Gather all Ingredients

  1. Tortillas:
    Choose your favorite type of tortilla – corn, flour tortilla, or whole wheat for a nutritious twist. The air fryer transforms these wraps into crispy perfection.
  2. Garlic Cheese Mixture:
    This recipe has a heavenly blend of minced garlic (or garlic powder), olive oil, grated mozzarella cheese, Italian seasoning, and finely chopped fresh parsley.
Air Fryer Tortilla Garlic Bread Ingredients

How to make this Recipe:

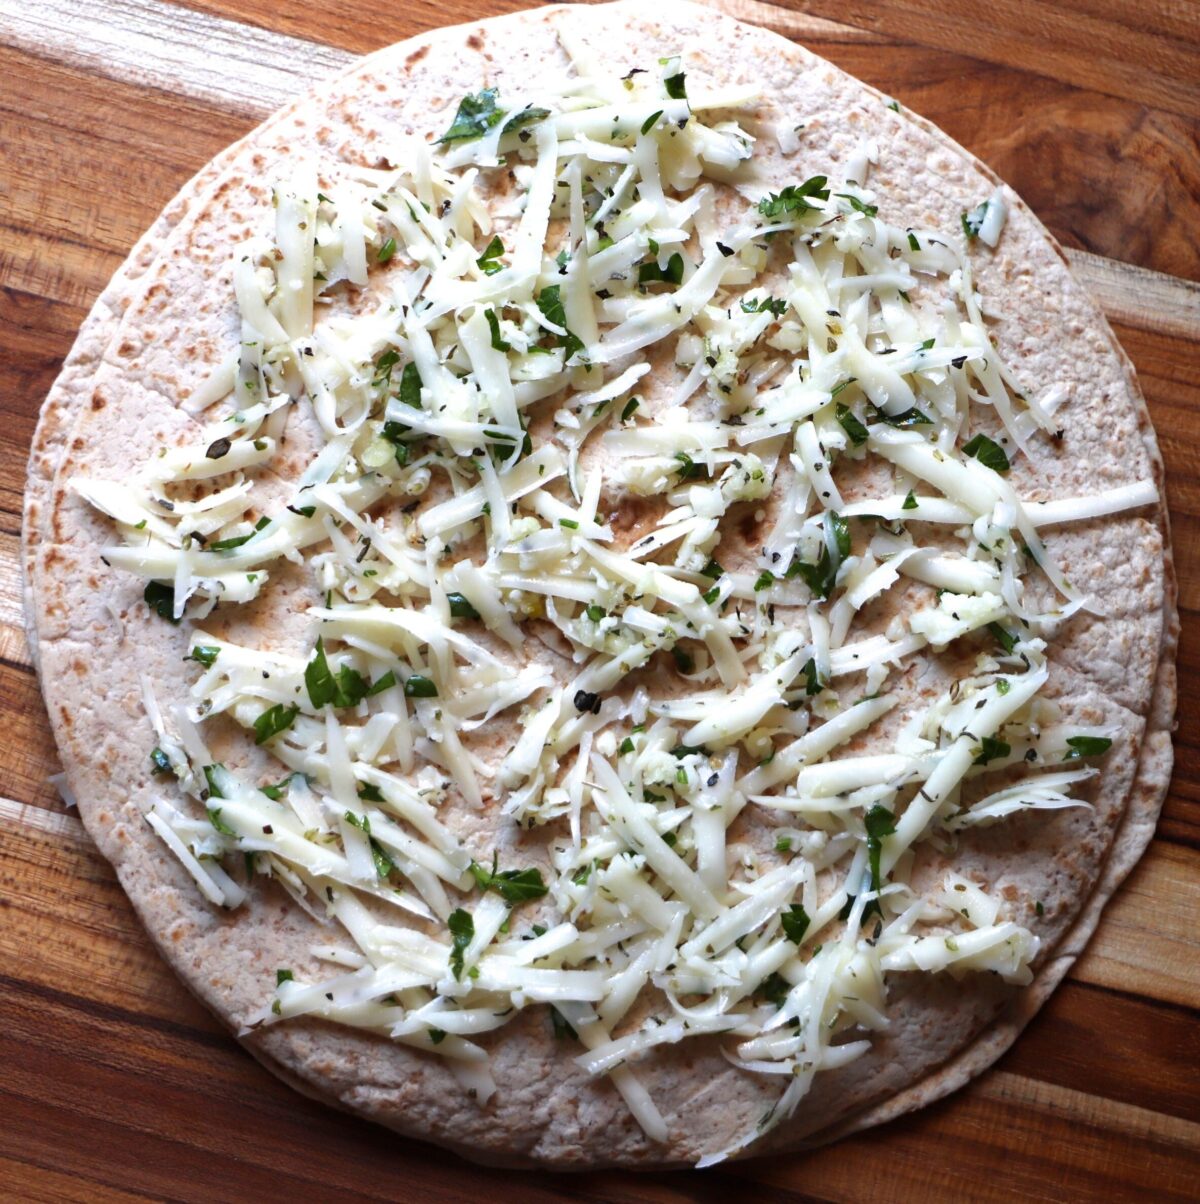
  1. Prepare

    First, in a medium bowl, combine mozzarella cheese, garlic, olive oil, Italian seasoning, and parsley. Lay out your tortillas on a clean surface and sprinkle the cheese mixture on one side of each tortilla.

  2. Assemble

    Place the first tortilla on top of the second tortilla.

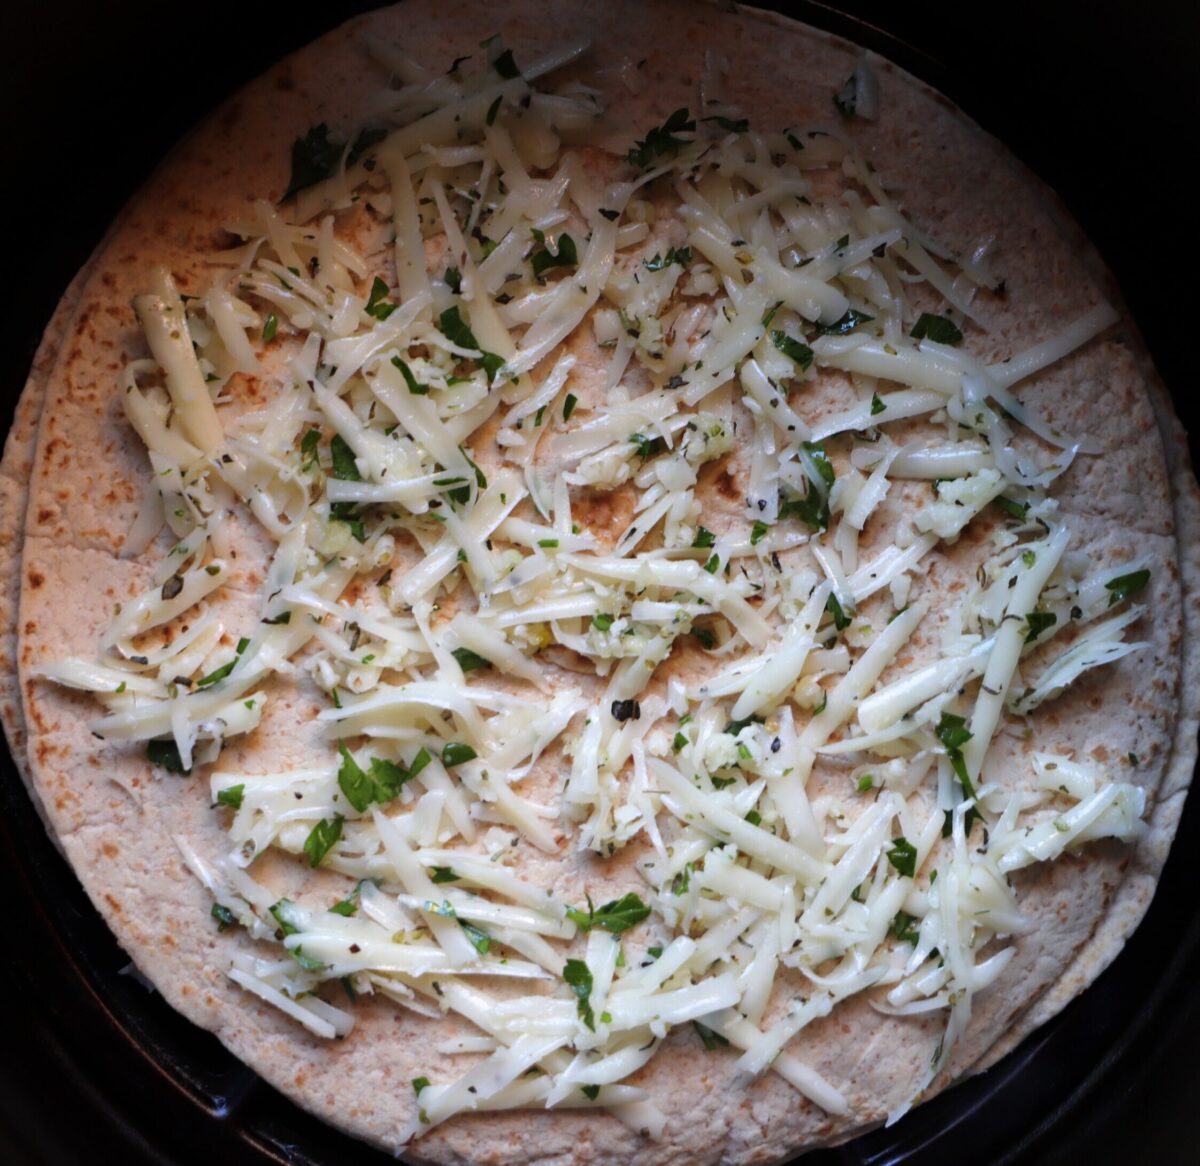
  3. Air fry

    Next, preheat your air fryer to around 370°F (if your air fryer requires). Once preheated, place the tortilla pieces in the air fryer basket and air fry at 375˚F for about 4-6 minutes. Keep a close eye on them as air fryer cooking times can vary.

  4. Serve and enjoy

    Finally, remove the tortilla garlic bread from the air fryer, cut, and serve. It’s perfect as a side to pasta, soups, salads, or a standalone snack. You can also pair it with marinara sauce or salsa.

Common Questions

Can I use flour tortillas, or do I need a specific type?

Both flour and whole wheat tortillas work well. Corn tortillas are also an option but might be less flexible and become crunchier.

What’s the best way to serve tortilla garlic bread?

Serve it as a snack, appetizer, or alongside soups and pasta dishes. It pairs well with marinara sauce, pesto, or as a dip for hummus or salsa.

Can I make garlic tortilla bread ahead of time and reheat it?

Yes, you can prepare and store them in an airtight container in the refrigerator. Reheat them in the air fryer for about 2-3 minutes at 350°F.

More Recipes you will Enjoy!

If you try this recipe and like it, please leave your feedback in the comment section below, and don’t forget to rate it! Please also share it with your friends and family.

Finally, please FOLLOW “She Wants To Be Good” on FACEBOOK and INSTAGRAM for all of my latest blog posts and recipes.

Air Fryer Tortilla Garlic Bread

This Air Fryer Tortilla Garlic Bread combines the goodness of traditional garlic bread with the convenience and crunchiness of tortillas.
Prep Time 5 minutes
Cook Time 5 minutes
Total Time 10 minutes
Course Appetizer, Snack
Cuisine American
Servings 2

Ingredients
  

  • 2 medium whole wheat tortillas
  • cup grated mozzarella cheese
  • ½ teaspoon olive oil
  • 1 garlic clove (minced)
  • 1 teaspoon Italian seasoning
  • 1 tablespoon fresh parsley (finely chopped)

Instructions
 

  • In a medium bowl, combine mozzarella cheese, garlic, olive oil, Italian seasoning, and parsley.
  • Lay out your tortillas on a clean surface and sprinkle the cheese mixture on one side of each tortilla. Place the first tortilla on top of the second tortilla.
  • Preheat your air fryer to around 370°F (if your air fryer requires). Once preheated, place the tortilla pieces in the air fryer basket and air fry at 375˚F for about 4-6 minutes. Keep a close eye on them as air fryer cooking times can vary.
  • Remove the tortilla garlic bread from the air fryer, cut, and serve. It's perfect as a side to pasta, soups, salads, or a standalone snack. You can also pair it with marinara sauce or salsa.
Keyword garlic bread, garlic tortilla bread, tortilla garlic bread

Hi! I’m Irina. Here you’ll find healthy and healthy-ish recipes.