
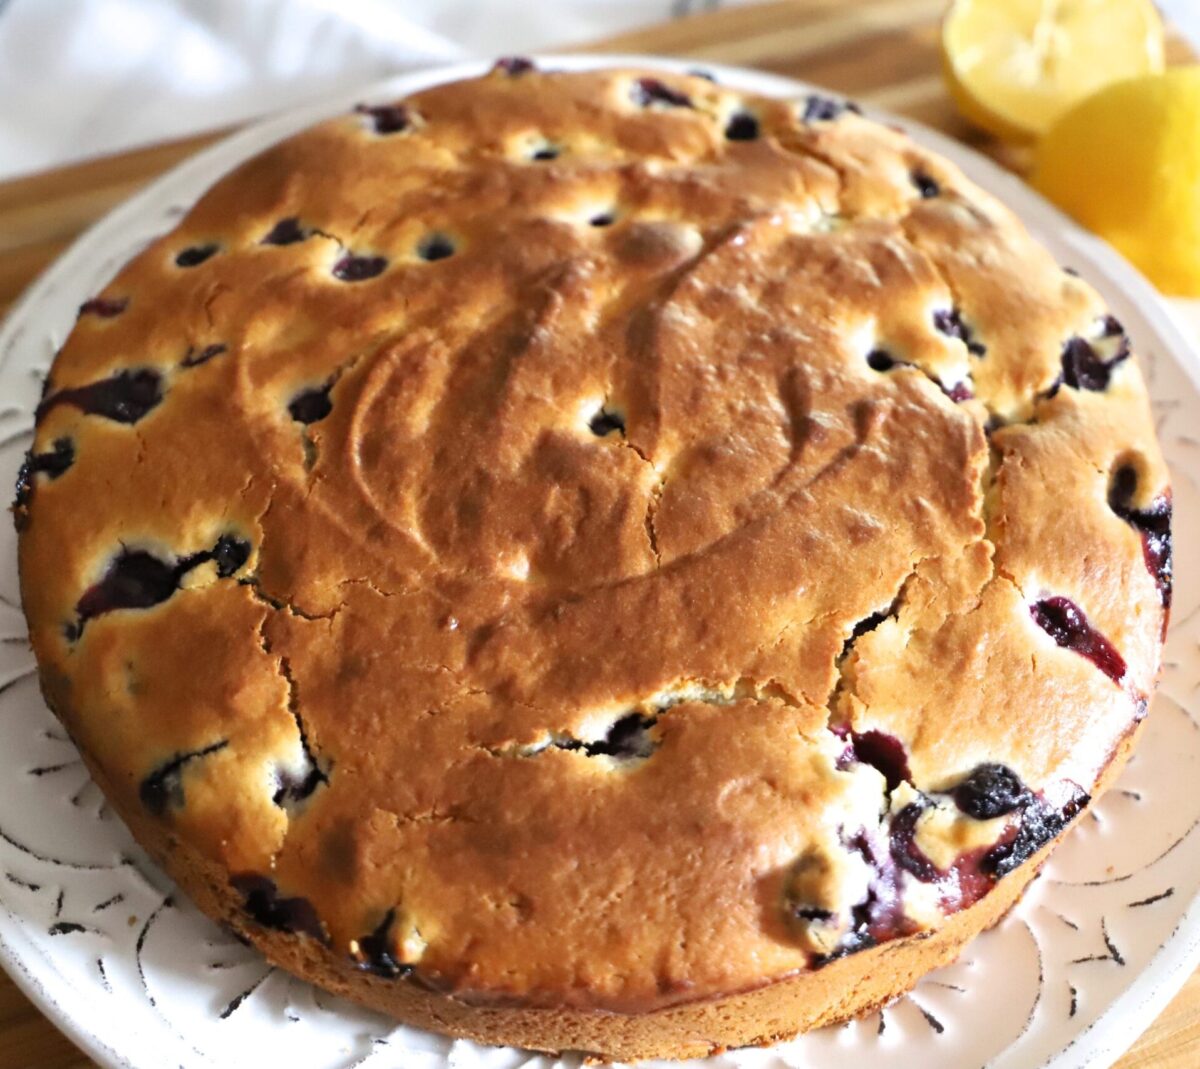
This Blueberry Lemon Cake is a delightful choice for brunch or any time you’re craving something fresh and flavorful.
Perfect for spring or summer gatherings, this cake is ideal for serving a crowd. The classic pairing of juicy blueberries and zesty lemon creates a harmonious balance of sweet and tart. Best of all, it’s incredibly easy and quick to make — making it a go-to dessert you’ll return to again and again.
Ingredients
This tasty Lemon Blueberry Cake is made with very basic ingredients but there are a few of the ingredients that can be easily substituted:
- Blueberries – you can use fresh or frozen blueberries. And, you can also use another berry variety like chopped strawberries, raspberries, or blackberries.
- All purpose flour – feel free to use a really good quality 1-1 gluten free all purpose flour.
- Sour cream – you can replace sour cream with Greek yogurt.
- Olive oil – you can replace it with a vegetable oil.
- Lemon zest and lemon juice – fresh lemon is a must for this cake.
How to make this Recipe:
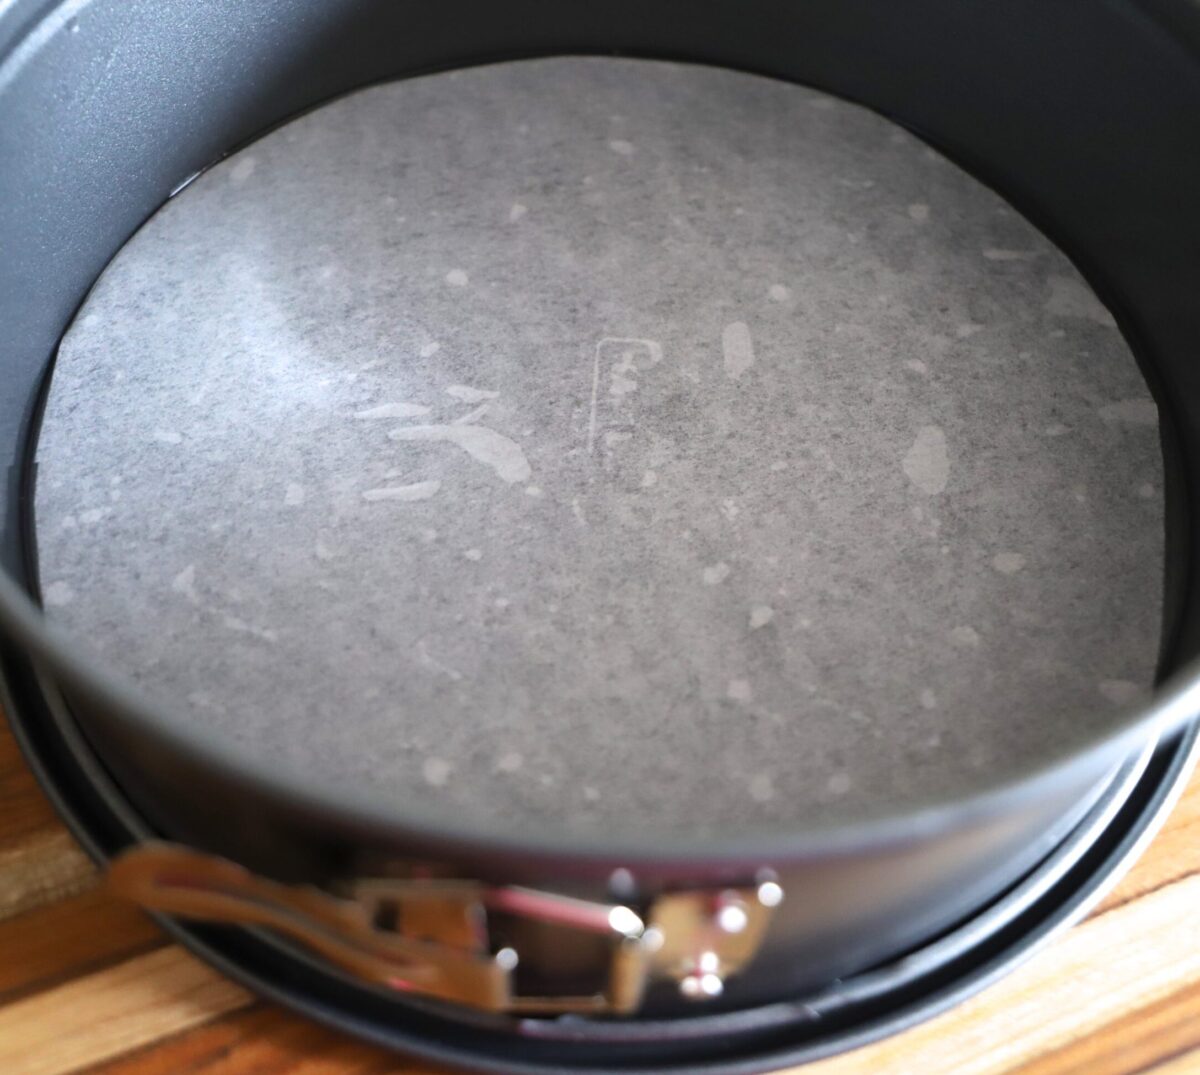
- Prepare pan
Oil a 9″ springform pan and line the bottom with parchment paper. Preheat oven to 375˚F.
- Toss blueberries with flour
In a small bowl, toss the blueberries with 1 teaspoon of flour. Set aside.

- Combine wet and dry ingredients
In a large bowl, whisk together 2 eggs with 1 cup sugar. Add sour cream, oil, vanilla, lemon juice, lemon zest and combine. In a small bowl, whisk together: flour, baking powder and salt until well incorporated. Add flour mixture to the batter 1/3 at a time, letting the flour incorporate with each addition and continue mixing just until well combined.

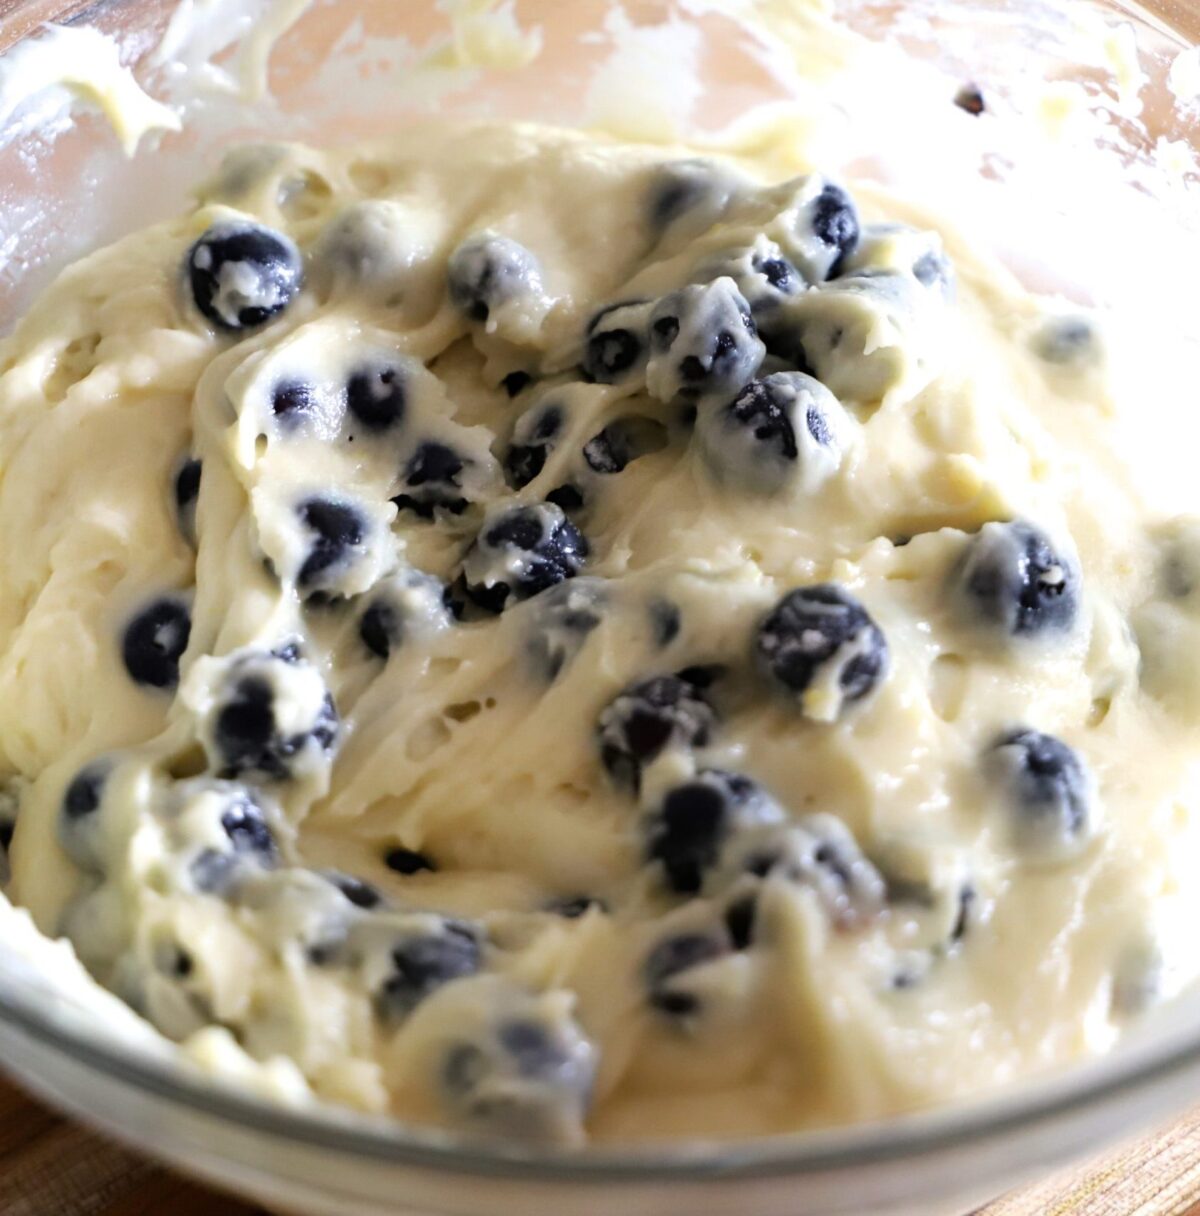
- Add blueberries
Add the flour-dusted blueberries to the batter and, using a spatula, fold until evenly combined.
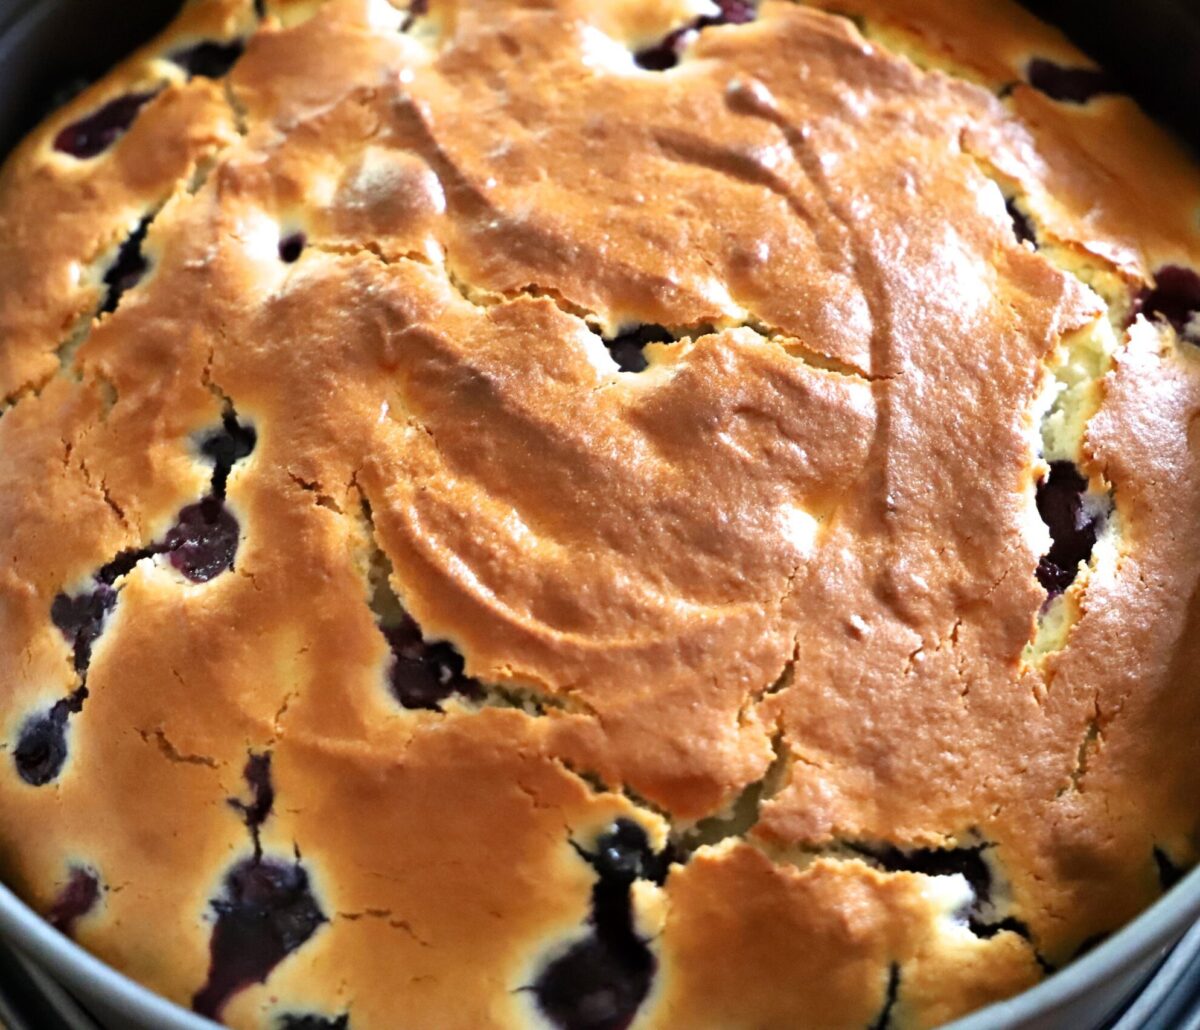
- Bake
Transfer the batter into the prepared pan and smooth the top. Bake at 350˚F for 45-55 minutes, or until a toothpick inserted into center comes out clean. Let cake rest in pan 15-20 minutes before removing the ring.
- Transfer to a platter
Run a thin spatula around cake edges to loosen from pan, then transfer to a cake platter.
- Enjoy
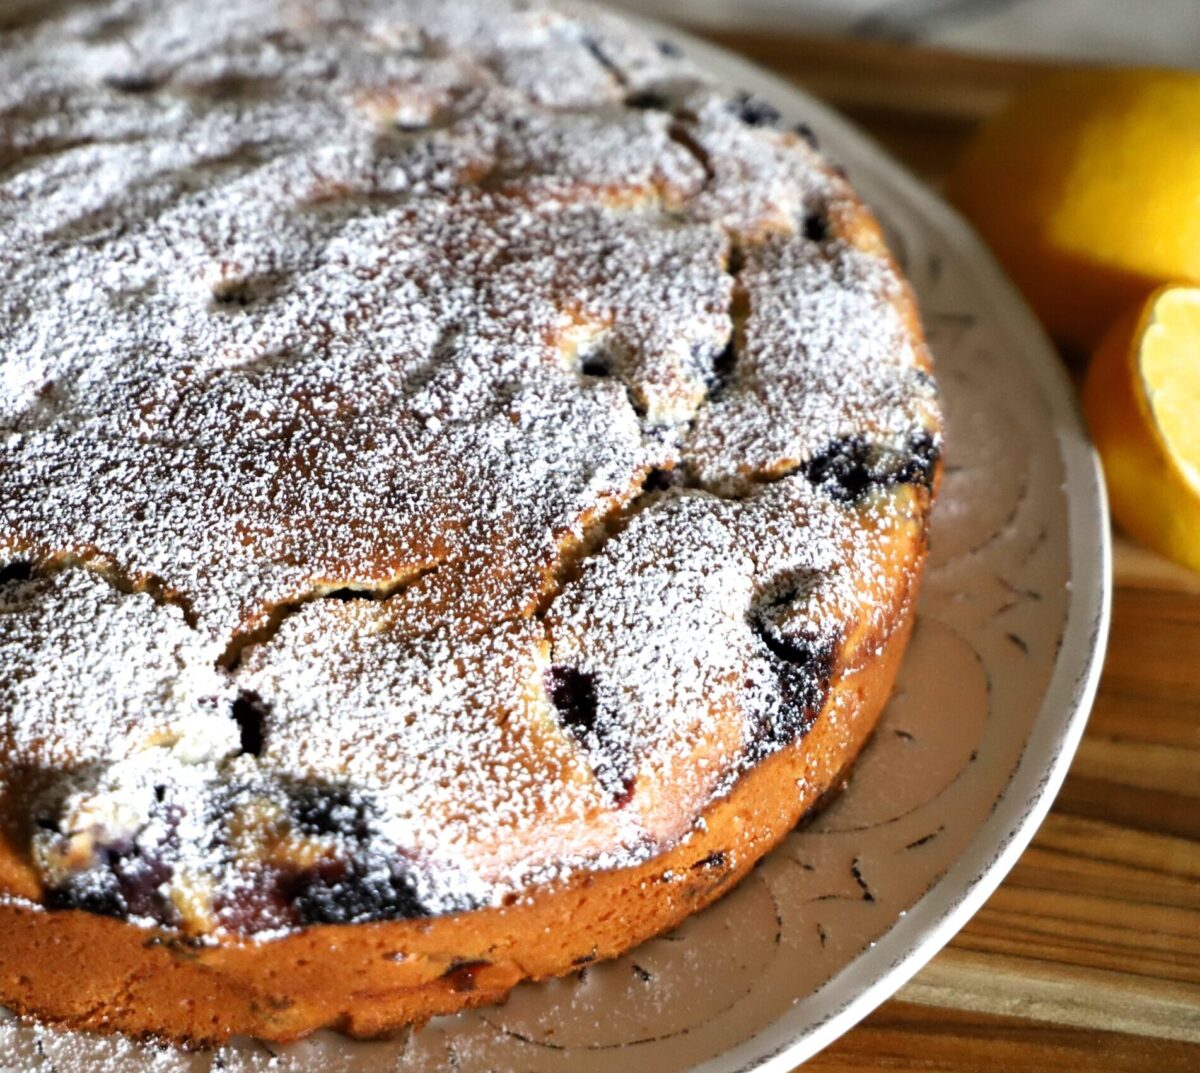
Cool and dust with powdered sugar, if desired. Slice with a serrated knife.
Common Questions
– Use fresh blueberries instead of frozen.
– Toss berries in a tablespoon of flour before folding into the batter.
– Add them last, right before baking.
This often happens due to:
– Underbaking the center of the cake.
– Adding too many blueberries or too much liquid (like lemon juice).
– Overmixing the batter, which deflates the structure.
Tip: Gently coat blueberries in flour before adding them to prevent sinking.
Springform pans eliminate the risks associated with removing cakes from traditional pans. They’re a kitchen essential for producing flawlessly smooth cheesecakes, perfectly crusted tarts, or intricate ice cream cakes without damage to their tops, bottoms, or sides.
More Dessert Recipes you will Enjoy!
If you try this recipe and like it, please leave your feedback in the comment section below, and don’t forget to rate it! Please also share it with your friends and family.
Finally, please FOLLOW “She Wants To Be Good” on FACEBOOK and INSTAGRAM for all of my latest blog posts and recipes.

Easy Blueberry Lemon Cake
Ingredients
- 2 large eggs (room temperature)
- 1 cup granulated sugar
- 1 lemon (zest and juice)
- 1 cup sour cream
- ⅓ cup light olive oil
- 1 teaspoon vanilla extract
- 2 cups all-purpose flour
- 2 teaspoons baking powder
- ¼ teaspoon sea salt
- 2 cups fresh blueberries
- 1 teaspoon all-purpose flower (for blueberries)
- 1 teaspoon powdered sugar (for dusting, optional)
Instructions
- Oil a 9" springform pan and line the bottom with parchment paper. Preheat oven to 350˚F.
- In a small bowl, toss the blueberries with 1 teaspoon of flour. Set aside.
- In a large bowl, whisk together 2 eggs with 1 cup sugar. Add sour cream, oil, vanilla, lemon juice, lemon zest and combine.
- In a small bowl, whisk together: flour, baking powder and salt until well incorporated.
- Add flour mixture to the batter 1/3 at a time, letting the flour incorporate with each addition and continue mixing just until well combined.
- Add the flour-dusted blueberries to the batter and, using a spatula, fold until evenly combined.
- Transfer the batter into the prepared pan and smooth the top. Bake at 350˚F for 45-55 minutes, or until a toothpick inserted into center comes out clean. Let cake rest in pan 15-20 minutes before removing the ring.
- Run a thin spatula around cake edges to loosen from pan, then transfer to a cake platter. Cool and dust with powdered sugar, if desired. Slice with a serrated knife.
Hi! I’m Irina. Here you’ll find healthy and healthy-ish recipes.
Most Recent Recipes: